
Besnaren en afstellen in de Martin-fabriek: een stapsgewijze handleiding

Van de werkbanken tot in jouw handen: elke stap van het productieproces in de Martin Guitar-fabriek in Nazareth, Pennsylvania, is erop gericht om jou een instrument te bieden waarmee je de kunstenaar in jezelf kunt ontketenen. Met meer dan 190 jaar ervaring heeft Martin Guitar zijn vakmanschap steeds verder verfijnd, terwijl het bedrijf blijft innoveren en zijn positie als marktleider in de sector behoudt.
Het besnaren en afstellen van elke gitaar is een van de belangrijkste stappen in het productieproces en vormt de laatste etappe in de reis die een gitaar door de fabriek aflegt. De medewerkers zorgen ervoor dat elk instrument in perfecte staat de fabriek verlaat, klaar om direct uit de koffer bespeeld te worden.
In dit artikel nemen we een kijkje achter de schermen om te zien hoe het besnaren en afstellen bij Martin Guitar in zijn werk gaat, met uitleg van productiemanager Dave Doll.

Stap 1: Visuele inspectie
De reis begint in de afdeling voor de eindafwerking, waar snarenbouwers kunnen kiezen uit een breed assortiment glanzende instrumenten die onlangs door het afwerkingsteam van Martin zijn gecontroleerd en opnieuw gepolijst. Instrumenten met een satijnen afwerking worden rechtstreeks uit de eindassemblageafdeling geselecteerd. Voor dit artikel koos Dave voor een van hun nieuwe modellen uit de Standard-serie: de SC-28E.

De gitaar wordt vervolgens naar de werkbank van de stringer gebracht, waar hij grondig wordt geïnspecteerd. Zoals Dave uitlegt: „Eerst controleren we of het model en het serienummer kloppen en zorgen we ervoor dat alle labels aan de binnenkant correct zijn.”

Vervolgens is het tijd voor een grondige visuele inspectie om te controleren of er geen krassen, deuken of andere onvolkomenheden zijn.” Dave vervolgt: “We controleren op openingen bij de hals en de brug, droogpolijsten, delaminatie van de laklaag, loszittende frets of eventuele scheuren. Het is belangrijk om ervoor te zorgen dat alles precies is zoals het hoort, inclusief alle visuele kenmerken die een gitaar in de 28-stijl zou moeten hebben.”

Stap 2: Controle van de elektronische onderdelen en de moerengleuven
Zodra de eerste visuele inspectie is afgerond, wordt de elektronica getest. „We sluiten het aan en als er een onderzadel-pickup zit, zoals bij deze gitaar, tikken we even op de brug om te controleren of de elektronica werkt,” zegt Dave.
Dave zorgt er ook voor dat de onderkant van het zadel perfect vlak is. „Een van de redenen waarom we doorgaans geen zadels van been gebruiken voor gitaren met elektronica, is dat als het zadel aan de onderkant holtes of oneffenheden vertoont, dit niet goed wordt doorgegeven aan de transducer,” zegt Dave. „Je moet er dus voor zorgen dat het vlak is.”

Nadat de elektronica is getest, worden de sleuven in de moeren gecontroleerd met behulp van een sleufmeter. „We controleren of alle sleuven de juiste diepte hebben. Als dat niet het geval is, gebruiken we een vijl om ze waar nodig bij te werken,” legt Dave uit.

Stap 3: De brugpinnen en stemmechanieken plaatsen
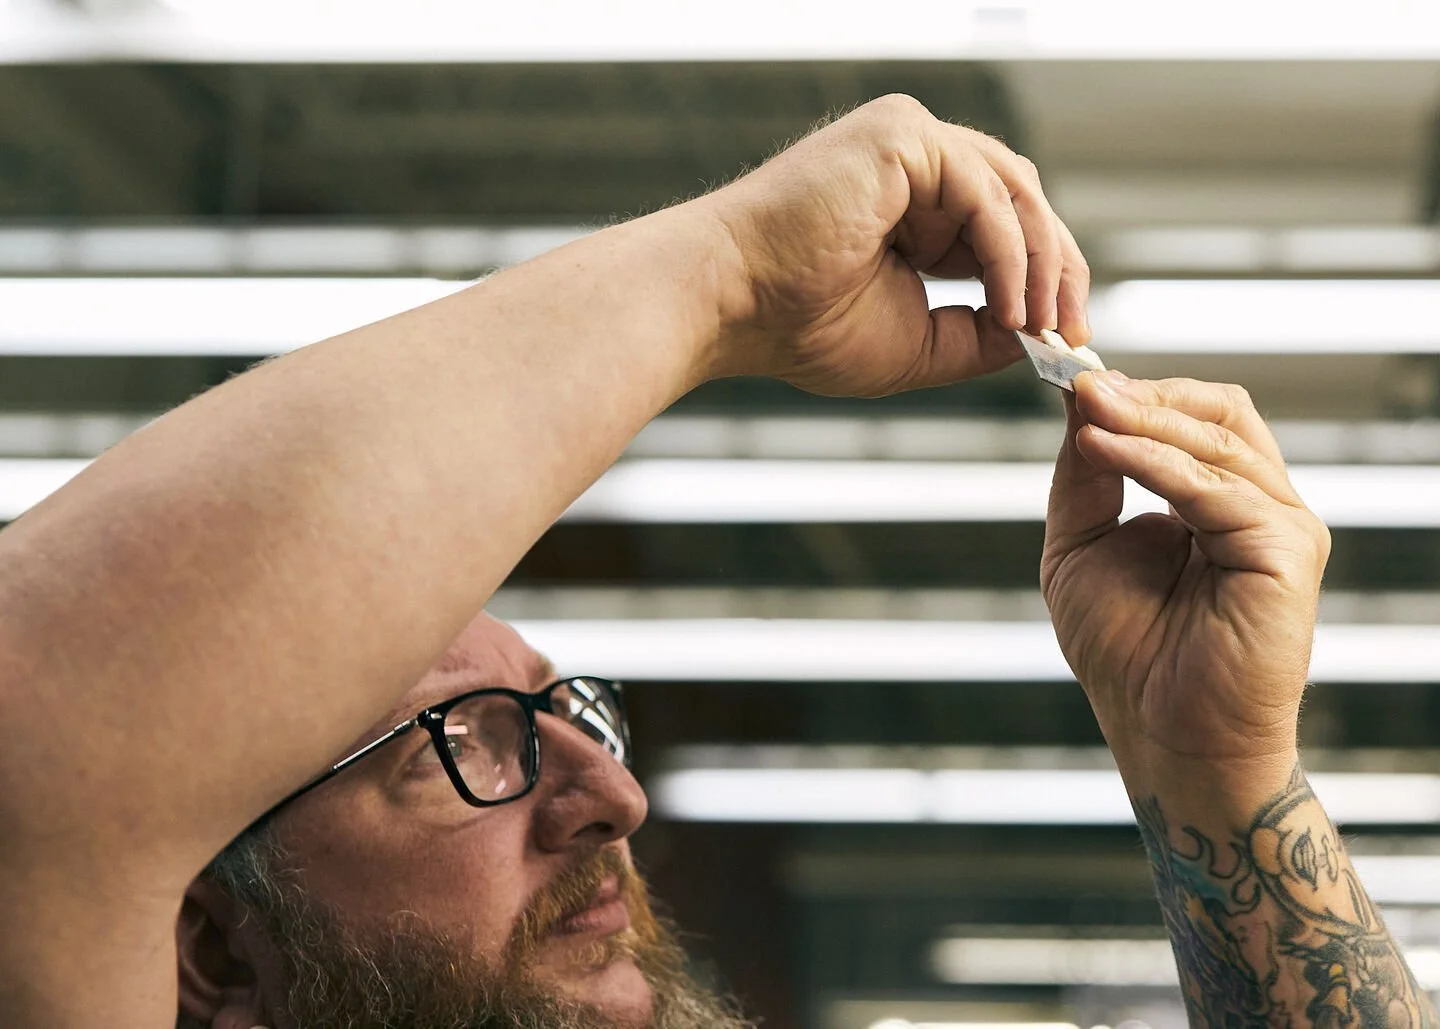
De brugpinnen worden eerst in de brug geplaatst, nog voordat de snaren worden gespannen, om ervoor te zorgen dat ze gelijkmatig zitten. „Ze mogen nooit gelijk liggen met het oppervlak. Als dat wel het geval is, zullen ze later verslijten. Als ze iets te hoog zitten, gebruiken we ruimers om precies de juiste ruimte voor de pinnen te creëren,” merkt Dave op.

Net als de meeste gitaarbouwers heeft Dave een persoonlijke voorkeur als het gaat om het instellen van de stemmechanieken voordat hij de gitaar besnaart. „Ik stel de stemmenpinnen graag in onder een hoek van ongeveer 45 graden, allemaal naar binnen gericht. Sommige mensen zetten ze recht, maar dit is mijn manier.”

Stap 4: De gitaar besnaren
Nu de gitaar visueel is gecontroleerd en de brugpinnen en stemmechanieken op hun plaats zitten, is het tijd om de snaren op te zetten. „De SC-28E wordt besnaard met dunne Kovar™ snaren, dus die pakken we erbij en beginnen we de kogeluiteinden één voor één in de brug te plaatsen,” legt Dave uit. Hij zegt dat het besnaren soepeler verloopt als de brugpinnen al op hun plaats zitten.

Bij de kop heeft Martin een specifieke manier om de snaren te bespannen. „We halen de snaar door de stemknop, laten hem een beetje loshangen, gaan er dan onderdoor, trekken hem strak tegen de knop aan, en dan weer over de snaar heen om hem vast te zetten,” legt Dave uit. Voor een volledige visuele demonstratie van het bespanningsproces bij Martin, klik hier.

Automatische snaarwikkelaars worden gebruikt om elke snaar strak te trekken, terwijl de operator met zijn andere hand de spanning op de snaar die wordt gestemd, in stand houdt. „Zodra ze allemaal strak zitten, knippen we het overtollige stuk af dat bij de stemknop is achtergebleven en recyclen we dat,” zegt Dave.
Martin zorgt ervoor dat al ons touwafval wordt gerecycled – een van de vele voorbeelden van onze diepgewortelde toewijding aan duurzaamheid.

Stap 5: Afstemmen en laatste aanpassingen
Vervolgens wordt de gitaar gestemd. „Sommige technici gebruiken een chromatische stemapparaat, maar ik geef de voorkeur aan een stemfluit,” zegt Dave. „Ik begin altijd met het strak trekken van de snaren bij de brug om er zeker van te zijn dat de kogeluiteinden goed vastzitten. Vervolgens blijf ik tijdens het stemmen de snaren strak trekken en stemmen totdat ze niet meer bewegen.”

Vervolgens wordt de halsrelief gecontroleerd met behulp van een halsreliefmeter, die voor de SC-28E is ingesteld op ongeveer vier duizendste inch. „We controleren de stemming nogmaals en zorgen ervoor dat de elektronica perfect werkt door de gitaar aan te sluiten en de hele hals af te spelen,” voegt hij eraan toe.

Stap 6: Laatste afwerking en omhulling
De laatste stappen bestaan uit het zorgvuldig plaatsen van de slagplaat en het bevestigen van de riemknop. Daarna is het tijd om de gitaar in de koffer te stoppen. „We stoppen de eindpin en de koffersleutel in het vakje van de koffer, samen met een QR-code voor onze onderhouds- en verzorgingsgids en eventuele andere relevante informatie,” zegt Dave.

Voordat de gitaar in de koffer wordt opgeborgen, wordt hij nogmaals grondig afgeveegd en wordt er een laatste visuele inspectie uitgevoerd om eventuele vingerafdrukken of kleine onvolkomenheden te verwijderen.

Stap 7: Herinspectie en verzending
Zodra het afstelproces is voltooid, wordt de gitaar in zijn koffer gelegd om daar vier dagen te blijven liggen. „Op de vierde dag inspecteert een andere medewerker de gitaar nogmaals, controleert de snaarhoogte en voert de nodige aanpassingen uit. Na deze tweede inspectie gaat de gitaar de deur uit,” zegt Dave.
“En zo stellen we jouw Martin-gitaar precies af en stellen we hem in.”
